> ## Documentation Index
> Fetch the complete documentation index at: https://nightwatch.laravel.com/docs/llms.txt
> Use this file to discover all available pages before exploring further.
# Start Guide
> Get started with Laravel Nightwatch
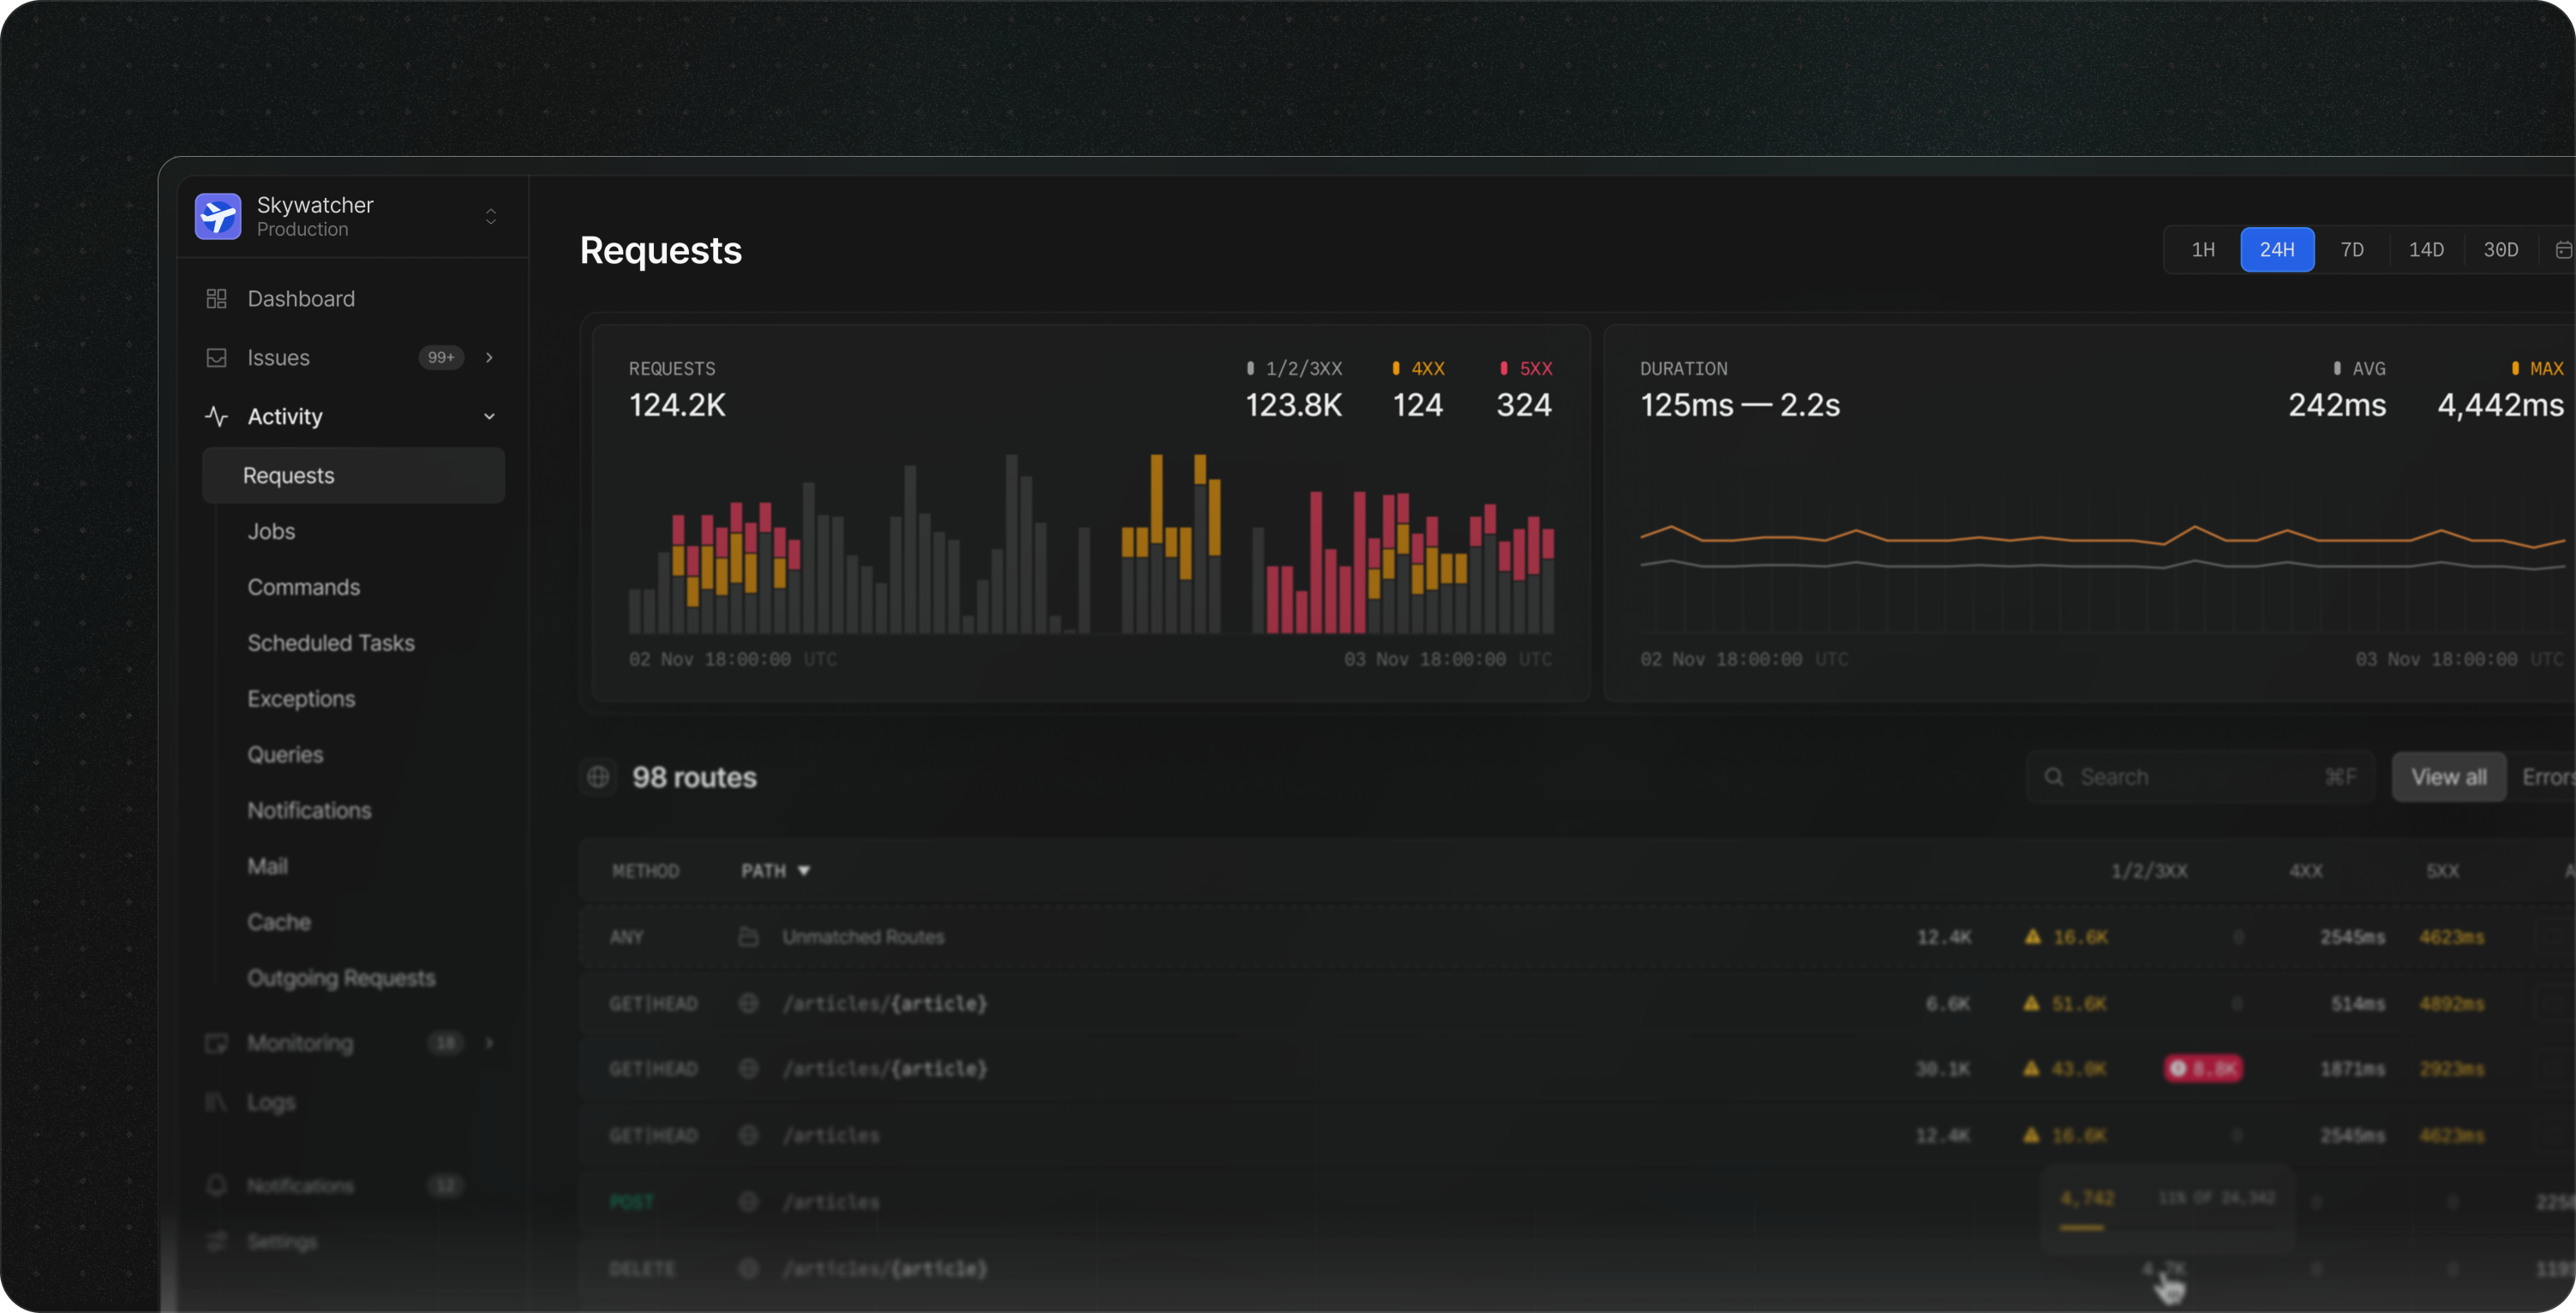 Welcome to Nightwatch. This guide will help you set up Nightwatch monitoring for your Laravel application in just a few minutes.
## Registering an account
Visit [nightwatch.laravel.com](https://nightwatch.laravel.com) and register for a free account.
After registering, you'll be redirected to the organization creation page. From here, you can create a new organization or join an existing one if you have a pending invite.
## Creating an organization
Welcome to Nightwatch. This guide will help you set up Nightwatch monitoring for your Laravel application in just a few minutes.
## Registering an account
Visit [nightwatch.laravel.com](https://nightwatch.laravel.com) and register for a free account.
After registering, you'll be redirected to the organization creation page. From here, you can create a new organization or join an existing one if you have a pending invite.
## Creating an organization
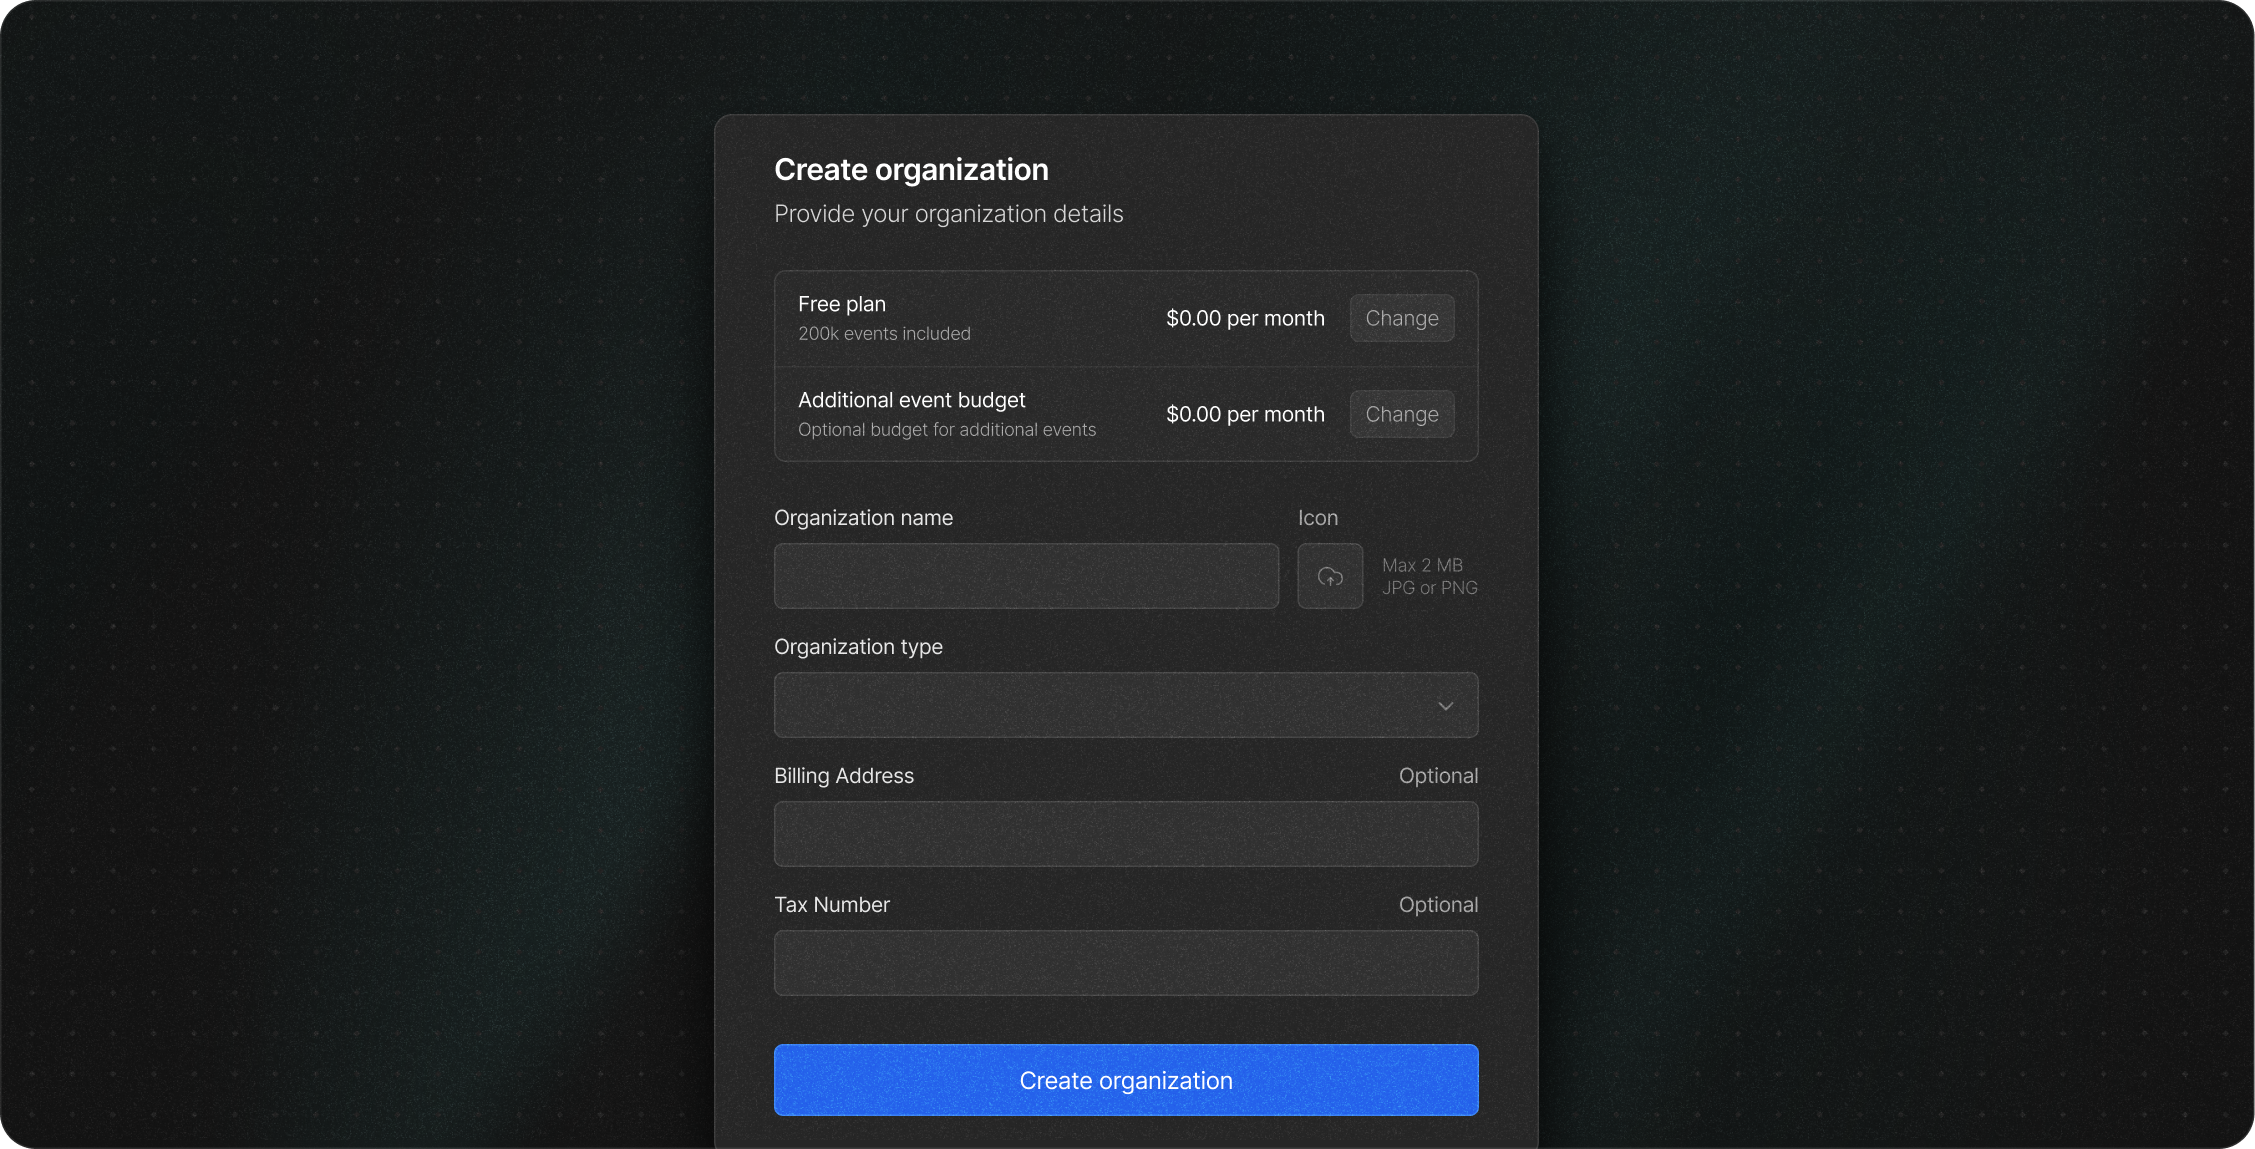 For a free account, you can get started with as little as an organization name. You can always upgrade and add more details later.
If you're joining an existing organization, you'll need to ask the owner to
invite you.
## Creating an application
Go to [nightwatch.laravel.com](https://nightwatch.laravel.com) and log in to your account.
Click **+ New Application** and provide the following:
* A name for your application
* A data region (US, EU or Australia)
* Details for your default environment (e.g. name, type)
Once your application and its first environment are created, you’ll receive an environment-specific token. This token is required to authenticate the agent and send data to Nightwatch.
You can retrieve this token anytime from the **Environments** tab in your application settings.
## Running the agent
Add Nightwatch to your Laravel application using [Composer](https://getcomposer.org/):
```bash theme={null}
composer require laravel/nightwatch
```
Add your environment's `NIGHTWATCH_TOKEN` to your `.env` file:
```
NIGHTWATCH_TOKEN=your-api-key
```
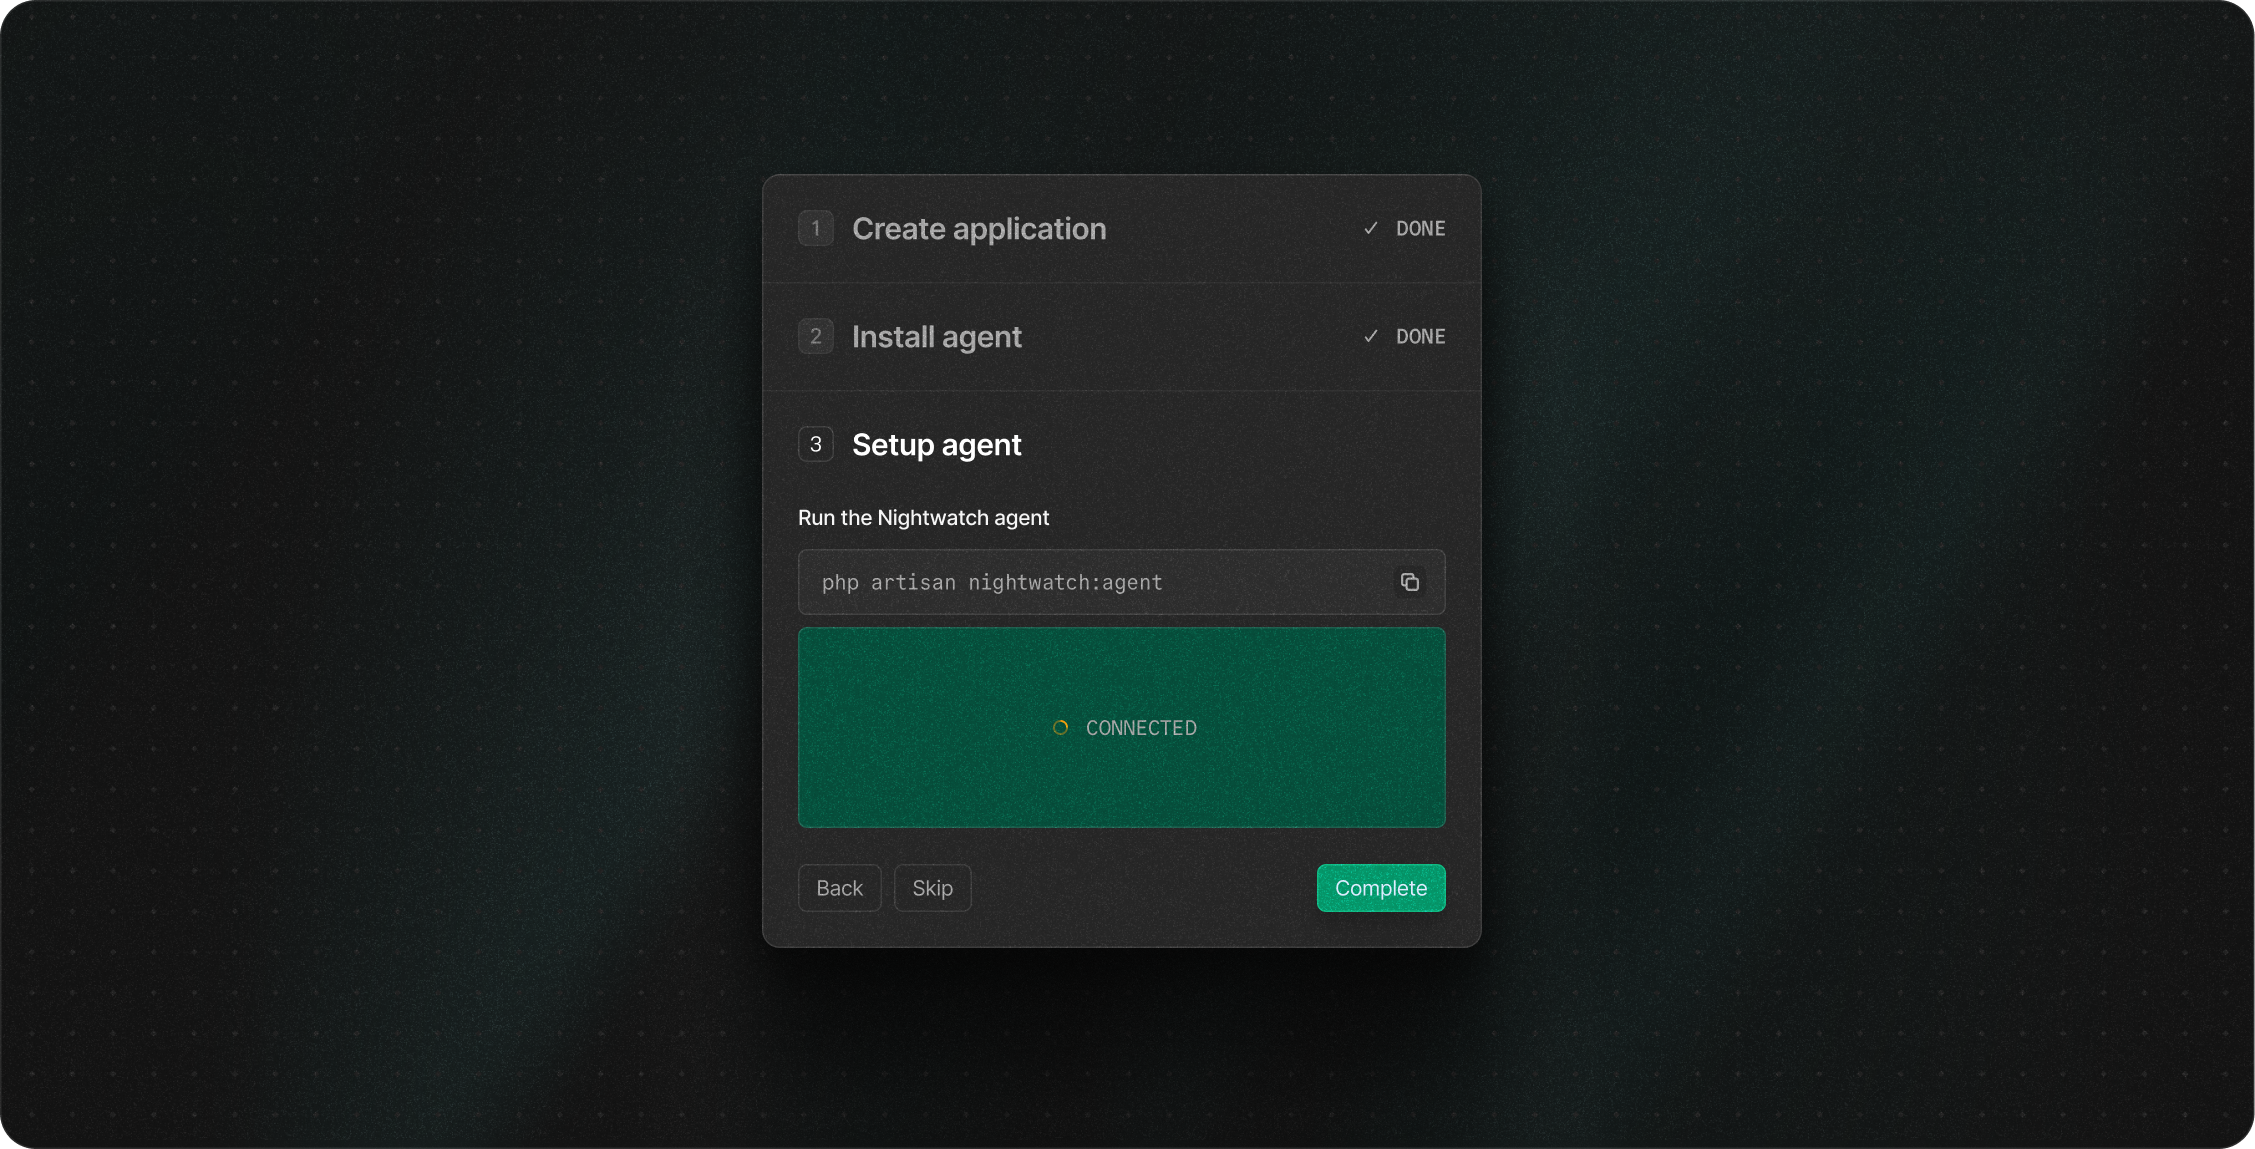
The agent must be actively running to collect and send data to Nightwatch. Start the agent using the following Artisan command:
```bash theme={null}
php artisan nightwatch:agent
```
We strongly recommend using a process monitor to ensure the agent stays running in the background. We've created guides for [Laravel Cloud](/guides/cloud), [Laravel Forge](/guides/forge), [Laravel Vapor](/guides/vapor), [Docker](/guides/docker), and [other providers](/guides/other-providers) to help you get started.
To monitor the health of the running agent, you may run the `php artisan
nightwatch:status` command to ensure the agent is able to accept connections.
The status command will exit with a non-zero status code in the event of an
error.
If you’re hosting multiple Laravel applications on a single server, you may want to monitor each one independently with Nightwatch.
The Nightwatch agent process is designed to monitor a single Laravel application in isolation. To monitor multiple applications on the same server, you’ll need to run a separate agent process for each one, with each agent listening on its own port.
By default, the agent listens on port `2407`. For each additional agent, you will need to set a different port by updating the `NIGHTWATCH_INGEST_URI` in your `.env` file and using the matching `--listen-on` flag when starting the agent.
```bash theme={null}
# App 1 - /var/www/app-1
NIGHTWATCH_INGEST_URI=127.0.0.1:2407
php artisan nightwatch:agent --listen-on=127.0.0.1:2407
# App 2 - /var/www/app-2
NIGHTWATCH_INGEST_URI=127.0.0.1:2408
php artisan nightwatch:agent --listen-on=127.0.0.1:2408
```
Laravel Forge handles this multi-site scenario automatically when using the
[official
integration](/guides/forge#automatic-integration-recommended).
## Verify your connection
After the agent has been running for a few minutes, you will see your data appear in the Nightwatch dashboard.
For a free account, you can get started with as little as an organization name. You can always upgrade and add more details later.
If you're joining an existing organization, you'll need to ask the owner to
invite you.
## Creating an application
Go to [nightwatch.laravel.com](https://nightwatch.laravel.com) and log in to your account.
Click **+ New Application** and provide the following:
* A name for your application
* A data region (US, EU or Australia)
* Details for your default environment (e.g. name, type)
Once your application and its first environment are created, you’ll receive an environment-specific token. This token is required to authenticate the agent and send data to Nightwatch.
You can retrieve this token anytime from the **Environments** tab in your application settings.
## Running the agent
Add Nightwatch to your Laravel application using [Composer](https://getcomposer.org/):
```bash theme={null}
composer require laravel/nightwatch
```
Add your environment's `NIGHTWATCH_TOKEN` to your `.env` file:
```
NIGHTWATCH_TOKEN=your-api-key
```
The agent must be actively running to collect and send data to Nightwatch. Start the agent using the following Artisan command:
```bash theme={null}
php artisan nightwatch:agent
```
We strongly recommend using a process monitor to ensure the agent stays running in the background. We've created guides for [Laravel Cloud](/guides/cloud), [Laravel Forge](/guides/forge), [Laravel Vapor](/guides/vapor), [Docker](/guides/docker), and [other providers](/guides/other-providers) to help you get started.
To monitor the health of the running agent, you may run the `php artisan
nightwatch:status` command to ensure the agent is able to accept connections.
The status command will exit with a non-zero status code in the event of an
error.
If you’re hosting multiple Laravel applications on a single server, you may want to monitor each one independently with Nightwatch.
The Nightwatch agent process is designed to monitor a single Laravel application in isolation. To monitor multiple applications on the same server, you’ll need to run a separate agent process for each one, with each agent listening on its own port.
By default, the agent listens on port `2407`. For each additional agent, you will need to set a different port by updating the `NIGHTWATCH_INGEST_URI` in your `.env` file and using the matching `--listen-on` flag when starting the agent.
```bash theme={null}
# App 1 - /var/www/app-1
NIGHTWATCH_INGEST_URI=127.0.0.1:2407
php artisan nightwatch:agent --listen-on=127.0.0.1:2407
# App 2 - /var/www/app-2
NIGHTWATCH_INGEST_URI=127.0.0.1:2408
php artisan nightwatch:agent --listen-on=127.0.0.1:2408
```
Laravel Forge handles this multi-site scenario automatically when using the
[official
integration](/guides/forge#automatic-integration-recommended).
## Verify your connection
After the agent has been running for a few minutes, you will see your data appear in the Nightwatch dashboard.
 ## Disabling Nightwatch
By default, the Nightwatch package will start monitoring your application once installed. You may wish to disable Nightwatch during local development, your test suite runs, or temporarily in other environments.
You may disable Nightwatch at any time by setting `NIGHTWATCH_ENABLED=false` in your environment. The easiest way to do that for local development and your local test suite runs is to set it in your project's `.env` file:
```sh .env theme={null}
NIGHTWATCH_TOKEN=your-api-key
NIGHTWATCH_ENABLED=false # [!code ++]
```
To ensure Nightwatch is disabled wherever you run your tests, you may also want to disable Nightwatch in your `phpunit.xml` file:
```xml phpunit.xml theme={null}
// [!code ++]
```
## Support
Need help? Visit our [support page](/support) for more information.
## Disabling Nightwatch
By default, the Nightwatch package will start monitoring your application once installed. You may wish to disable Nightwatch during local development, your test suite runs, or temporarily in other environments.
You may disable Nightwatch at any time by setting `NIGHTWATCH_ENABLED=false` in your environment. The easiest way to do that for local development and your local test suite runs is to set it in your project's `.env` file:
```sh .env theme={null}
NIGHTWATCH_TOKEN=your-api-key
NIGHTWATCH_ENABLED=false # [!code ++]
```
To ensure Nightwatch is disabled wherever you run your tests, you may also want to disable Nightwatch in your `phpunit.xml` file:
```xml phpunit.xml theme={null}
// [!code ++]
```
## Support
Need help? Visit our [support page](/support) for more information.